Sink repairs and installation are common plumbing tasks that require careful attention to detail to ensure proper functionality and prevent water damage. Whether you’re dealing with a leaky faucet, a clogged drain, or installing a new sink altogether, here’s a comprehensive guide to help you navigate Sink Repairs in Apollo PA:
- Identify the Problem: Determine the specific issue with your sink, whether it’s a leak, a clog, a malfunctioning faucet, or another problem. Understanding the root cause of the issue will help you plan the appropriate repair.
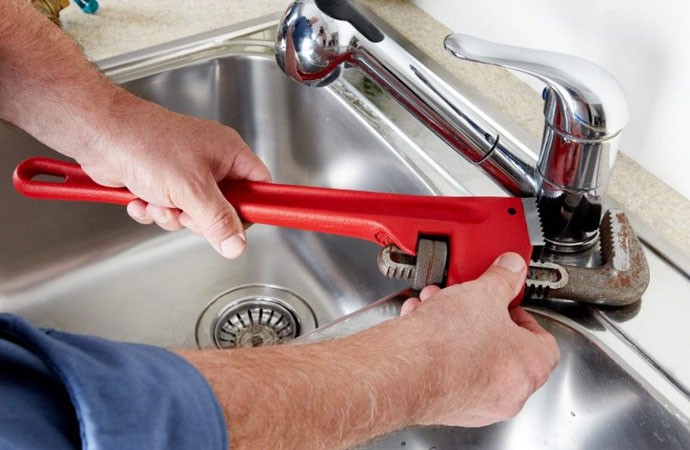
- Gather Necessary Tools and Materials: Depending on the nature of the repair, you may need various tools and materials, such as a pipe wrench, adjustable wrench, plumber’s tape, pipe cutter, plunger, drain snake, replacement parts (e.g., washers, O-rings, cartridges), and cleaning supplies.
- Shut Off Water Supply: Before starting any repairs, shut off the water supply to the sink. You can typically do this by turning off the shut-off valves located under the sink or at the main water supply line.
- Inspect and Clean: Inspect the sink, faucet, and drain thoroughly to identify any visible damage or buildup. Clean the area around the sink and remove any debris or mineral deposits that may be contributing to the problem.
- Repair Leaks: If you’re dealing with a leaky faucet, tighten any loose connections, replace worn-out washers or O-rings, or repair damaged components as needed. Apply plumber’s tape to threaded connections to create a watertight seal.
- Clear Clogs: If the sink is draining slowly or not draining at all, use a plunger or drain snake to clear the clog. Remove the sink trap and clean it out if necessary. Avoid using chemical drain cleaners, as they can damage pipes and fixtures.
- Test for Leaks: After making repairs, turn the water supply back on and test the sink for leaks. Check for any signs of dripping or pooling water around the faucet, drain, or connections. Tighten or adjust as needed to ensure a proper seal.
- Address Other Issues: If you encounter any other plumbing issues while repairing the sink, such as damaged pipes or fittings, address them promptly to prevent further damage and ensure the integrity of the plumbing system.
Sink Installation:
- Choose the Right Sink: Select a sink that fits your needs, budget, and style preferences. Consider factors such as size, configuration, material (e.g., stainless steel, porcelain, cast iron), and mounting options (e.g., top-mount, under-mount, pedestal).
- Prepare the Area: Clear out the space where the sink will be installed and ensure that it’s clean, level, and free of obstructions. Measure the dimensions of the sink and the countertop cutout to ensure a proper fit.
- Assemble Necessary Tools and Materials: Gather the tools and materials needed for installation, including a wrench, screwdriver, silicone caulk, plumber’s putty, mounting hardware, and safety equipment.
- Install Faucet and Drain: Install the faucet and drain assembly according to the manufacturer’s instructions. Use plumber’s putty or silicone caulk to create a watertight seal around the base of the faucet and drain openings.
- Mount Sink: Carefully place the sink into the countertop cutout and secure it in place using mounting clips or brackets. Follow the manufacturer’s guidelines for proper installation and ensure that the sink is level and securely attached.
- Connect Plumbing: Connect the supply lines and drain pipes to the sink, ensuring a proper fit and tight connections. Test for leaks by running water through the faucet and drain and checking for any signs of dripping or pooling water.
- Seal Edges: Apply a bead of silicone caulk around the edges of the sink where it meets the countertop to create a waterproof seal and prevent water damage.
- Finish Installation: Install any additional components, such as a garbage disposal or soap dispenser, and make any necessary adjustments to ensure that the sink is functioning properly and looks aesthetically pleasing.
- Clean Up: Clean up any debris or excess caulk from the installation area, and wipe down the sink and countertop to remove any fingerprints or smudges.
- Test Functionality: Test the sink for proper functionality by running water through the faucet, filling the sink with water, and checking for any leaks or drainage issues. Make any necessary adjustments or repairs as needed to ensure that the sink is working correctly.
Whether you’re repairing a minor issue or installing a new sink, it’s important to approach the task with care and attention to detail to ensure a successful outcome. If you’re unsure about how to proceed or encounter any challenges during the process, don’t hesitate to seek professional assistance from a licensed plumber or contractor.